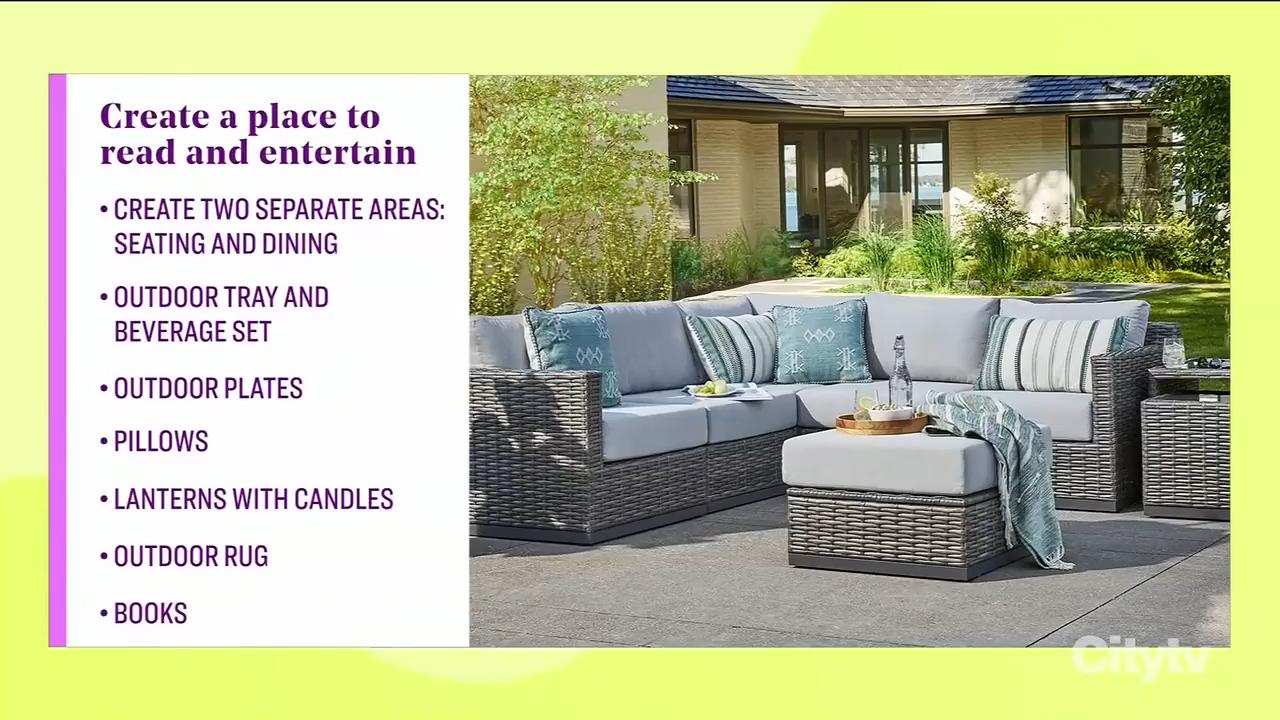
As summer is approaching, you’ll be looking for ways to spend more time enjoying the great outdoors. A sleek solution to add style, sophistication and refreshments to your outdoor space is by creating your own outdoor bar. Christian Dare has the ultimate DIY IKEA outdoor bar hack to create your own summer oasis and keep those drinks ice cold!
Item List
From IKEA
For the Hack
- Set of simple hinges
- Black stain or outdoor paint
- Small cooler
For the bar sink:
- Wall Mounted Tap
- Stainless steel Faucet connector 12″ – 1/2″ FIP to 3/8″ COMP
- Hose Fitting – double female swivel 1/2″ NPS male to 1/2″ male hose (should be found in the garden area of any home improvement store)
- Straight Connector 1/2″ MIP/outlet 3/8″ OD
- Garden Hose
- Teflon Tape
- Any vessel that can hold water (bowl, flower pot, etc)
Tools:
- Paint Brush
- Drill and drill bit
- Sandpaper
Method
- A key recommendation is staining or painting all your pieces before you assemble. Do this to ensure total coverage – it’s easy to paint in all the nooks and crannies.
- Build your first IKEA cart as normal. Build your second cart but leave off the top.
- Attached the second cart top using your set of hinges. Attach hinges to the back of the frame and to the top. You want to create a trap door style opening. Place your cooler inside on the top shelf.
- Attach both back panels to the back of the cart. If you are going to leave your cart free standing, I recommend adding two 2”x2” pieces ( I used simple pine stained out black to match) on each back corner on the back of the wall panels for extra support. If you are planning on locating these carts against a wall, I would suggest attaching the wall panels to the wall for extra support as per IKEA instructions.
- Add on the adjustable shelves as per IKEA instructions.
Outdoor Bar Sink
- Drill a hole into one of the slats of wood in your back panel (I drilled into the three slat up from my countertop but you should base this on the height of your water vessel). This is where we will attach the spigot tap.
- Slide your outdoor spigot into the hole you created in the back panel.
- Add Teflon tape to the threaded (male) ends of the connections. This will make it easier to take them apart, especially if they corrode and also during the winter so the water lines don’t freeze. Remove the compression nut and the brass ferrule from the straight connector. These parts will not be used. Apply teflon tape to the wider end of the connector.
- Attach the straight connector to the brass hose connector.
- Apply teflon tape to the narrow end of the straight connector then connect it to the narrow end of the faucet connector (water supply line).
- The faucet connector will then be connected to the back of the faucet
- Connect the brass hose connector to your hose.
- Place a bowl or other vessel on your table top under the faucet to collect the water. I did not attach my bowl the tabletop so I could empty it easily.
- Turn on your water and check for any leaks. Use a wrench to tighten any lose connection.
TIP: If you want to use this for drinking water – you can source a drinking water safe garden hose
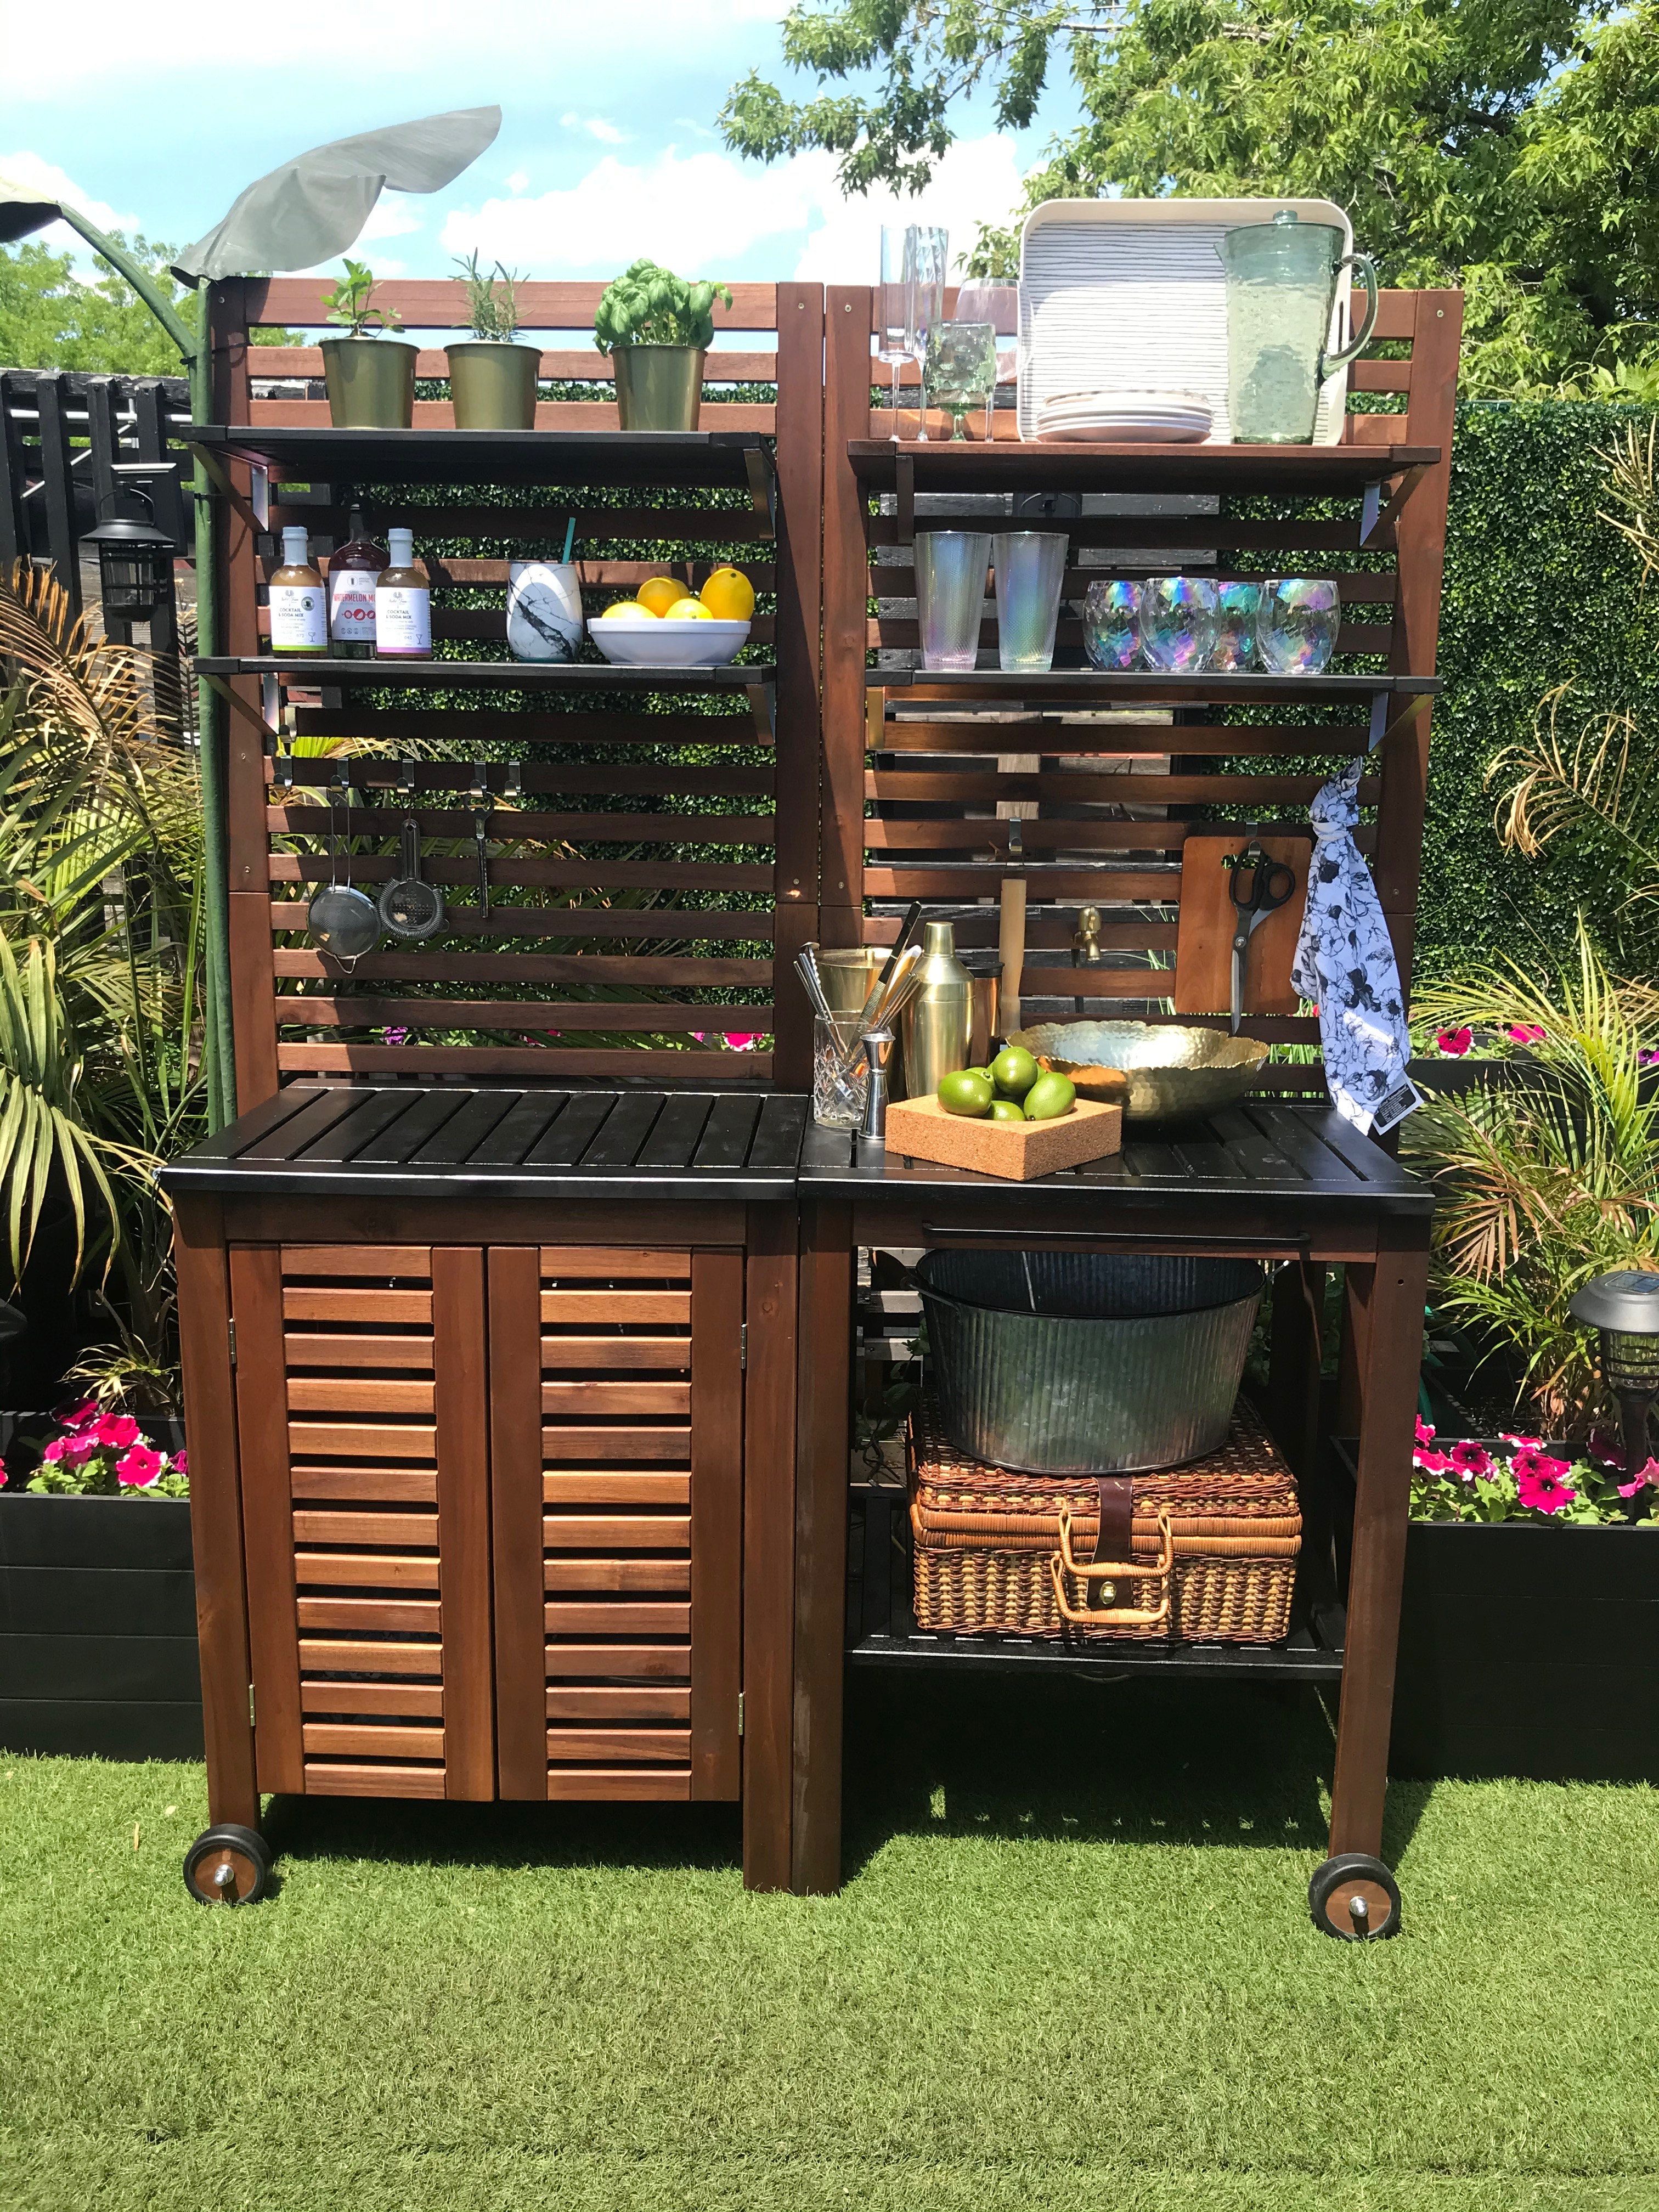
How to style your outdoor bar cart
- Accessorize With Pretty And Functional
Stay stocked with glassware, dishes, and some trays. Consider opting for melamine or acrylic as great alternatives. There are so many good options these days that look like ‘real’ dishes but are safe for the backyard, you can find these at HomeSense. Now for the bar – you want some basic bar tools – a cocktail shaker, a mixing glass, mixing spoons, a strainer and a jigger. Also add some metal straws, a small cutting board and paring knife for cutting your fruit. Maybe even a big pitcher to make a batch of drinks. If you don’t have all the bar tools you just need something you can measure quantities with and a shaker – even the shaker you’d typically mix your protein drinks in, or a water bottle with a screw top. - Stock Up On The Staples
Fill your cooler up with ice or ice packs. Keep some great juice and mixes ready at hand for any mocktail or cocktail – soda water, ginger beer, tonic water. And of course stay stocked up on some cold beer on ice. Just make sure you leave room to keep your rose wine chilled. Also keep some fresh citrus and herbs for your drinks. The shelves are the perfect spot to have small pots of herbs that you can add to any drink. Most used herbs for cocktails are Mint, Rosemary, and Basil. - Stock Up On The Snacks
Everyone likes a little nosh in the backyard. Sure you could bring some out from the kitchen but its convenient to have a little stash for when the hunger strikes. Use a reusable container with a lid – fill it with some great snack options that you like (just remember if you are going to want chocolate – keep that in the cooler). I like to use a container so I can take them all in at night – good if you live in an area where critters have access to your space. It’s ALWAYS a good idea to make sure your guests have food on hand so they do not drink on an empty stomach and encourage everyone to drink responsibly.
TIP: Try an avoid too many salty snacks, they lead to more drinking more - Add The Details
Now you want to add in some items that are frequently used outside. Perhaps you can add a stack of beach towels, a bottle of sunscreen and a little first aid kit. You could add an outdoor umbrella to keep your bar area nice and cool if it’s directly in the sun. Finally you could even pop on a little neon sign… bar complete