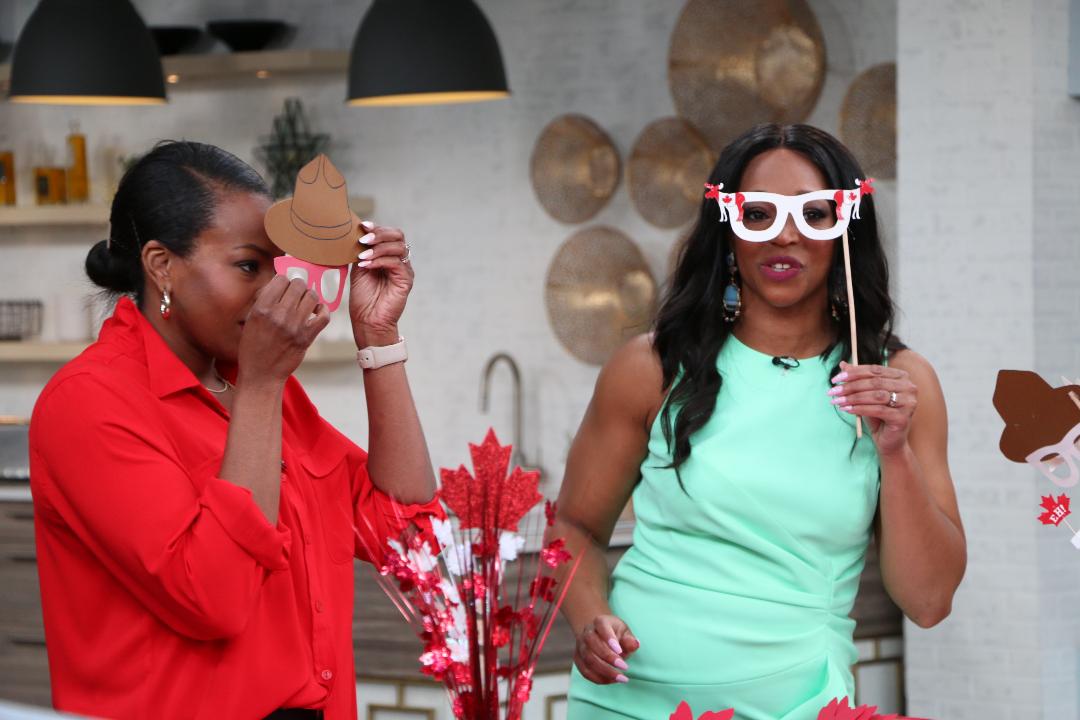
Canada Day celebrations this year will be different. As we celebrate at home we’ll be sure to take a ton of pictures, and who doesn’t love a selfie station? This is an easy and creative way to add some fun to your Canada Day festivities and create memories with the family! Monique Taylor-Yee Shui shares how to create the ultimate DIY Selfie Station to enjoy.
Items
- Poster board or Cardstock
- Pencil
- Ruler
- Scissors
- String
- Drapery hooks
Method
- Organize Your Paper
Poster board or cardstock is the best paper to use for this project. To make the leaf use a poster board since we’ll be making larger leaves. You’ll need to cut your poster board in half. The board is roughly 28 by 22 inches and you want a sheet that’s roughly 14.5 x 22 inches. Take a rectangular shaped craft paper and fold it into half width-wise and be sure to make a nice neat crease. - Draw Leaf Pattern And Cut Out
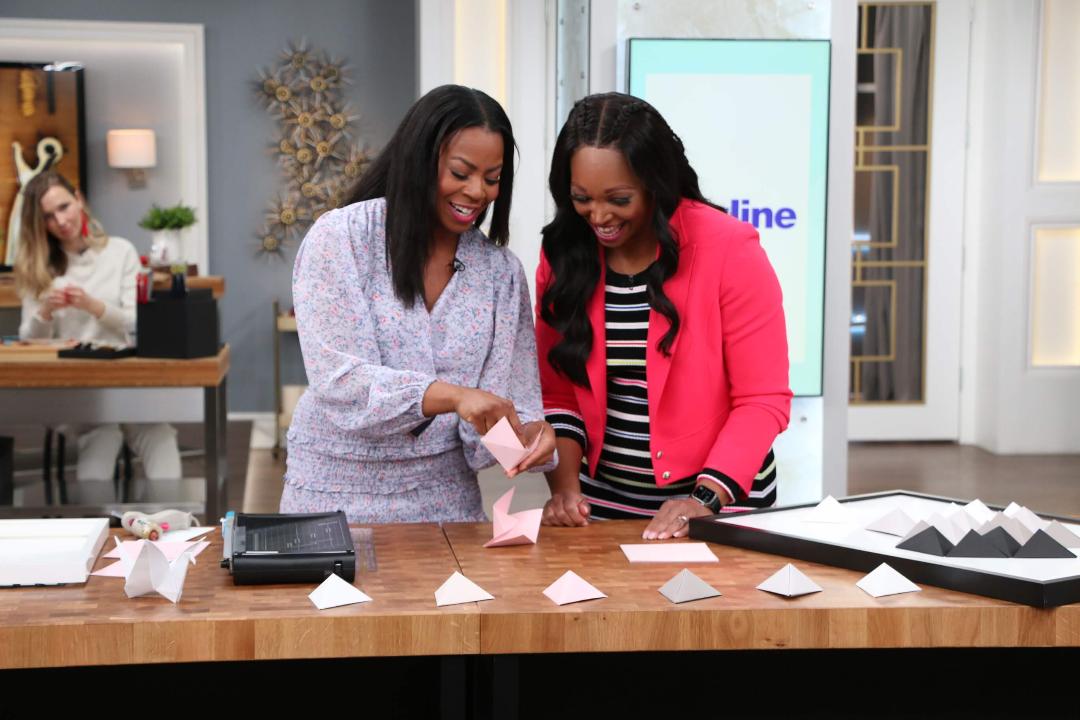
After that you draw a rough leaf pattern in a triangular direction on your folded paper you just sketch out your leaf. After we sketch that out, you cut out your leaf. - Fold Your Paper
Next you’ll open the folded paper and start making accordion folds, about an inch or inch and a half on the paper. Folds should measure 1”or 1 ½”. It is harder to fold posterboard paper versus regular paper so I suggest taking your time with this part, I would also consider this to be one of the most labor-intensive parts of this project. Using a ruler and drawing some guidelines on the paper will help make the folds straight and even. - Glue The Leaf
After you’re done folding, grab your glue gun and apply glue along any one side of the inner fold and join the inner sides to create the maple leaf. The glue gun is your best bet here as it provides a firm hold. - Hanging The Leaf
To hang your leaf, cut some string about 6 inches or so and make a loop. Use any string type for this and think about a coloured or pattern string to add some whimsy. When you’re gluing your leaf together add the string and press it together when you join the inner sides of your paper to create the leaf. Now you have this to add to your backdrop set up a hook on a wall or maybe a nail or if you want to like me I created a backdrop from artificial grass and added drapery hooks to add my leaves. Artificial grass comes in a variety of sizes so make sure to measure out what you need. - Use Prints to Decorate
You can simply print an image from online on some card stock and cut it out and hang it up to add some variety in our backdrop – again super simple and easy! Now you can have some fun with some props and take photos!