
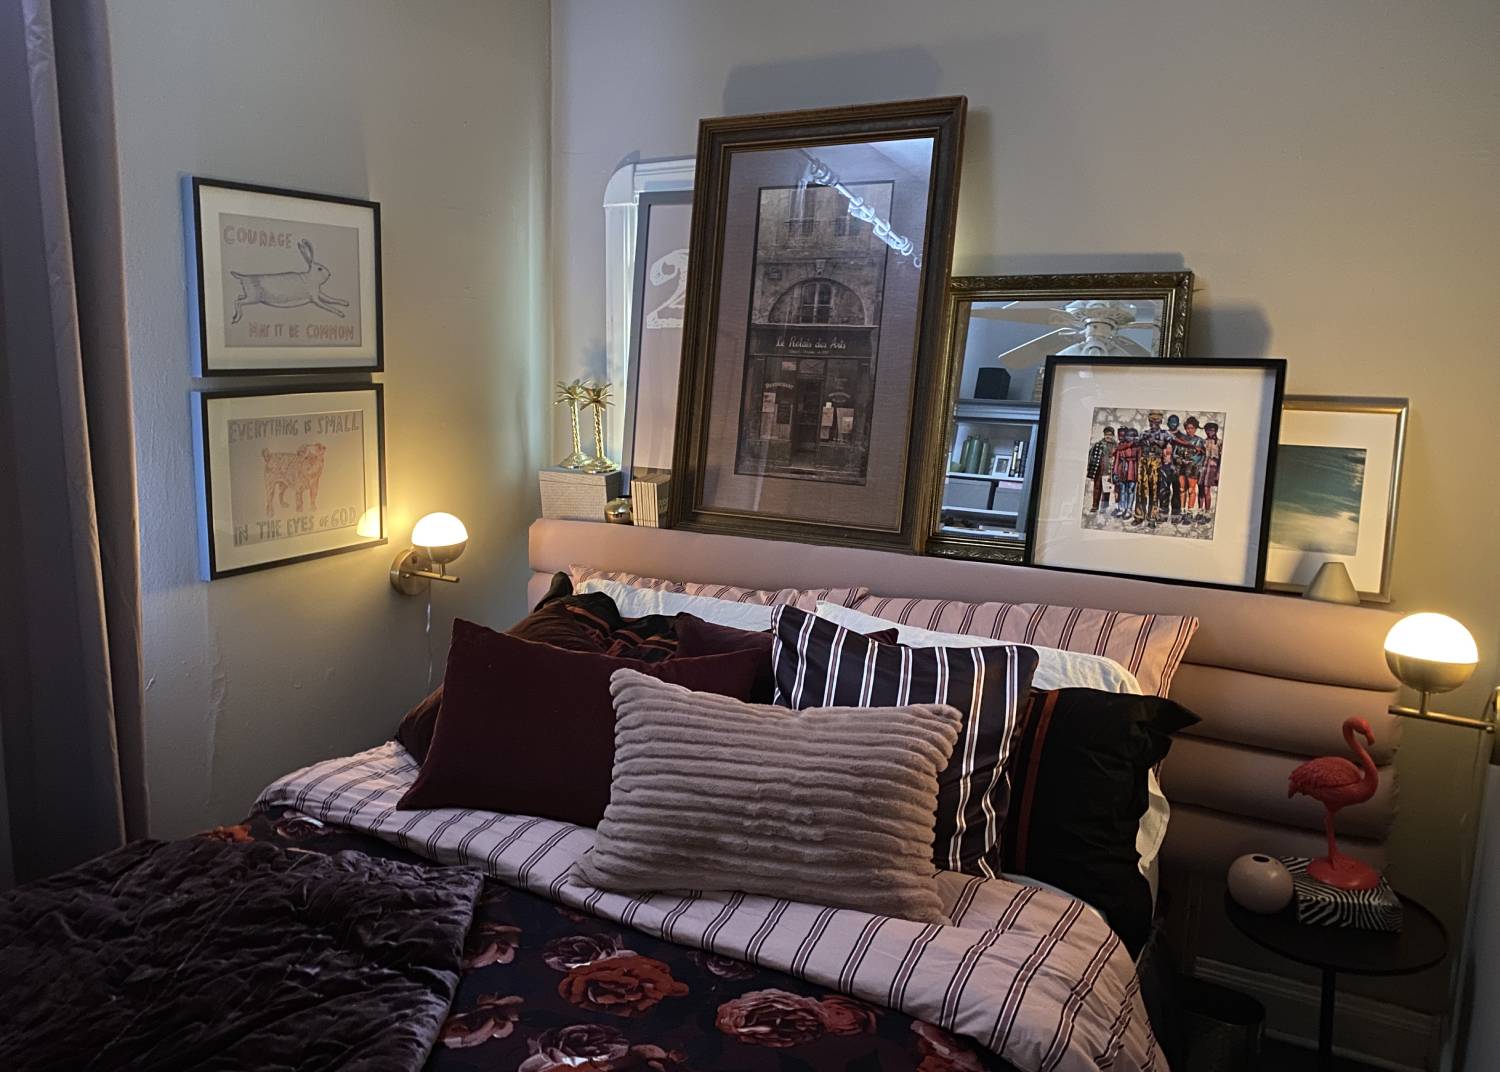
Create a custom headboard for your bedroom with this DIY to make a space look bigger and fabulous.
It can be very difficult to get the headboard that you want. Creating a headboard that goes wall to wall, can fool the eye into thinking the room is wider than it is. Now if you have tried finding a 8 ft. headboard, you would know that they have to be custom and can get pricey. This DIY is a great solution to making a stylish and affordable headboard with some simple lumber, half round foam and a set of curtains.
What you’ll need:
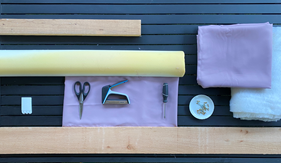
- 1 set of curtains or a couple of yards of an upholstery fabric of your choice
- 1 piece of 1”x6” lumber – 8 ft. long
- 7 pieces of 6” round foam (sliced in half) – 8 ft. long
- 3 pieces of 1”x4” lumber – 40” long
- 4 yards of batting
- some ¾” wood screws
- scissors
- staple gun and staples
- screwdriver or drill
- velcro strips
Step 1: Measure out and pre-cut fabric
Layout your fabric and place your wood on top. We are going to measure out our panels of fabric to precut them all. If you are making your headboard the same size as mine, you will want your pieces of fabric to be 18” wide.
Step 2: Layer the fabric, batting, foam and wood
Once you have your panels cut down to your desired lengths and widths, you will lay the fabric face down, then the batting, then the half round foam (which you can get some suppliers to precut), and finally the wood piece.
Step 3: Staple the sides and make taunt for lean line
Staple one side all the way down trying to keep it straight as you go. Once you get to the end, switch to the opposite side, pulling it tight as you go so that you have a clean ripple free finished panel on the other side.
Step 4: Finish off your corners then staple down
For your corners you will want to fold both sides in and then the bottom up to cover everything, just how you would with a gift you are wrapping. Then staple that piece down. You don’t have to be too careful with this as no one will see the back of your piece.
Now it is time to put it all together! This process is really quite simple.
Step 5: Line up panels and attach with pre-cut lumber
You will join all of your channel tufted panels together with your 3 pieces of 1”x”4 lumber. Make sure to line up the ends of your panels so that when it is all put together you don’t have any sticking out further than others. Attach all the panels together using the 1”x4” lumber on the back with screws. I use one piece of 1”x4” as strapping on each end of the 8 foot lengths and one in the middle. This will hold your headboard together and fool the eye into thinking it is all one piece.
Step 6: Adhere to wall and add your bed
Once all your panels are together, I attached it to my wall using Velcro. Since the headboard rests on the floor and is supported by your bed. I simply used a few Velcro strips to stick it tight to the wall.


