How To DIY Your Own Spooky Halloween Tree
Feeling like your Halloween décor needs an upgrade? Me too! Here is a spooky DIY that will satisfy all the Halloween enthusiasts in your life.
This Halloween tree is the perfect element to add to any outdoor or indoor décor. It has such a massive visual impact it immediately sets a mood.
Step 1:
Advertisement
Find your spooky branch! This one is a Manzanita branch, grown in the US, harvested and sandblasted to remove the bark. You can find them at decor stores, or ask a florist to order one for you. Or, head into your back garden and find your own branch to use!

Step 2:
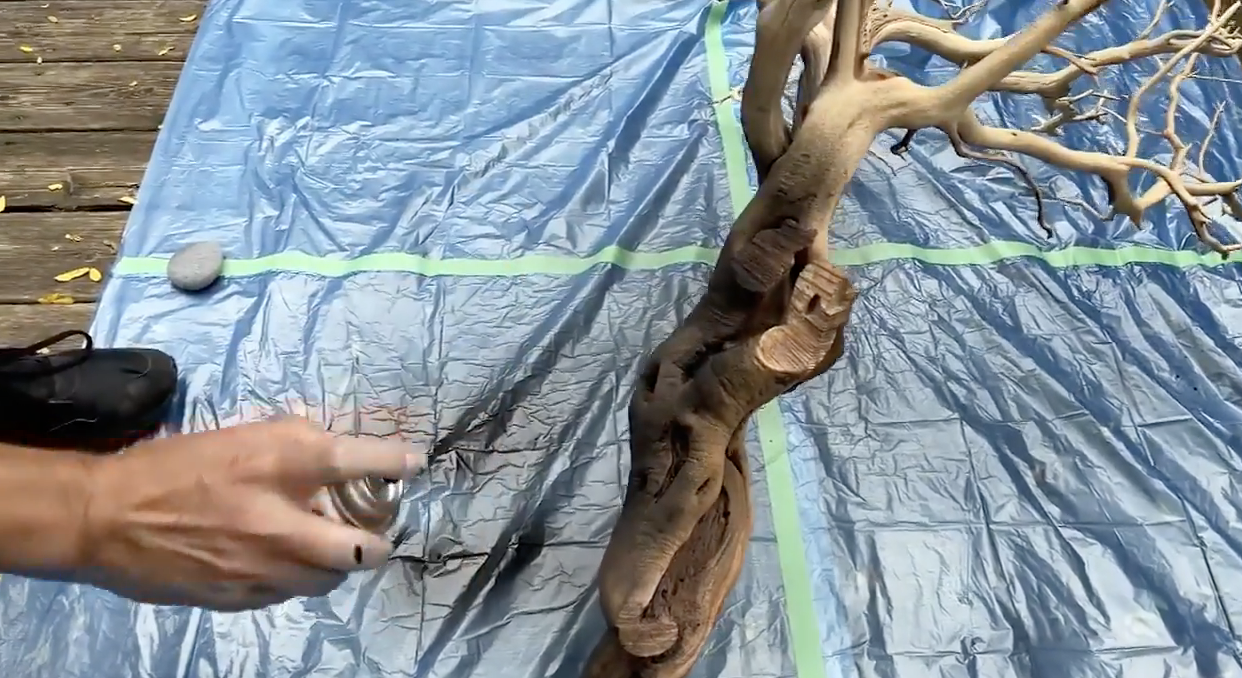
Ombré spray your branch. Make sure you do this outside because overspray is attracted to electrical products and can be a nightmare to deal with. The trick with the spray paint is little and often, layering the colour as you go to get the desired effect. Shorter bursts mean fewer drips, but if you get drips, don’t worry, it’ll only add to the ghoulish effect.
Advertisement
Step 3:
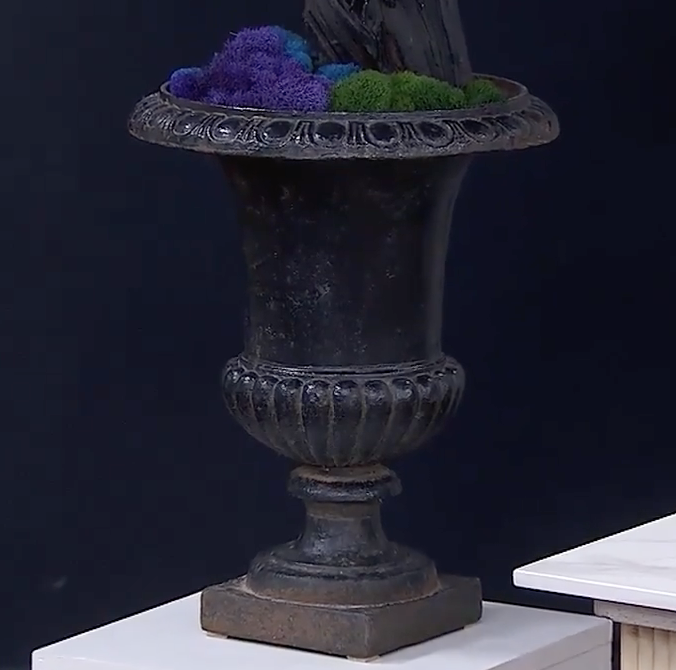
Stand your branch in a heavy cast iron garden urn. If needed, weight the base to help support the branch. Fill with stones, or clumping kitty litter (seriously), and top with preserved moss to give it a finished look.
Step 4:
Now for the fun step, decorate your tree!
Advertisement

Easy pom-pom spiders:
You will need:
- Heavyweight wool
- Coloured cellophane cut into long strips
- Scissors
- Pipe cleaners
- Ribbon
Steps:
Advertisement
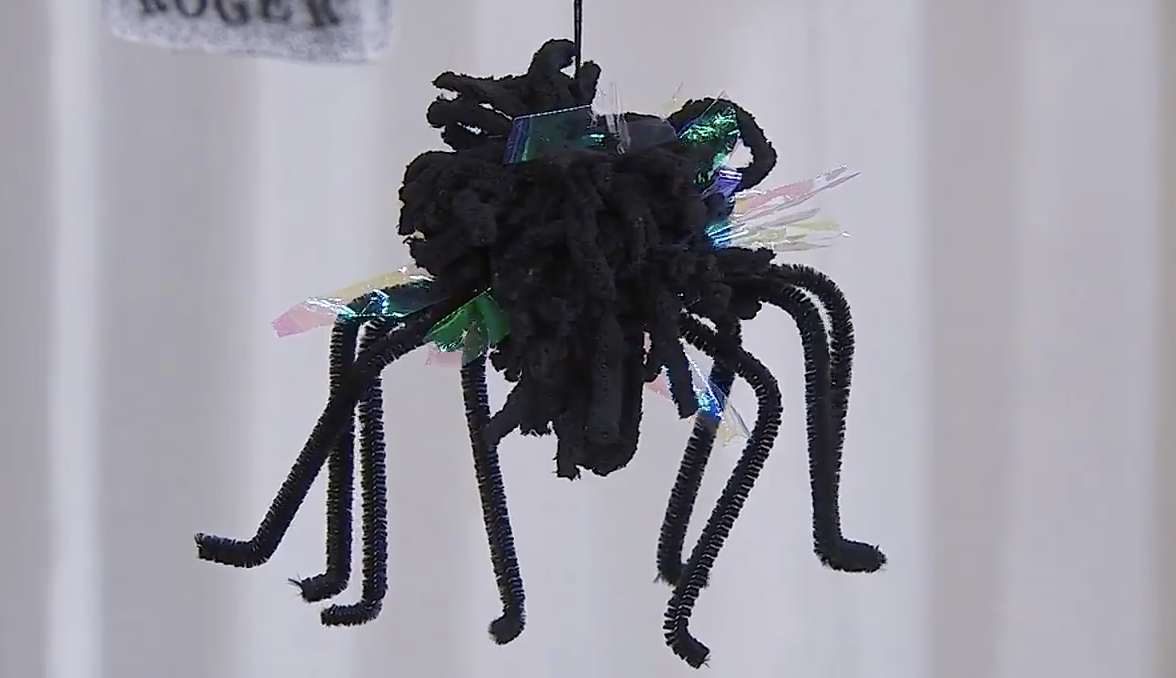
- Wind the wool around your hand, interspersing with strips of cellophane.
- Once the size looks right (this will take some trial and error! Slide it carefully off of your hand and tightly tie a piece of wool around the middle.
- Cut through loops on either side, fluff out and trim to your desired shape.
- Thinner wool will give a more uniform look, while chunkier wool will give you a more bedraggled look.
- Add pipe cleaners, twisted around the centre, for legs and tie a narrow ribbon – or thread to hang it on the tree.
Decorated Skulls:
You will need:
- Plastic or Styrofoam skulls
- Black spray paint
- Bamboo skewers
- Metallic markers.
Steps:
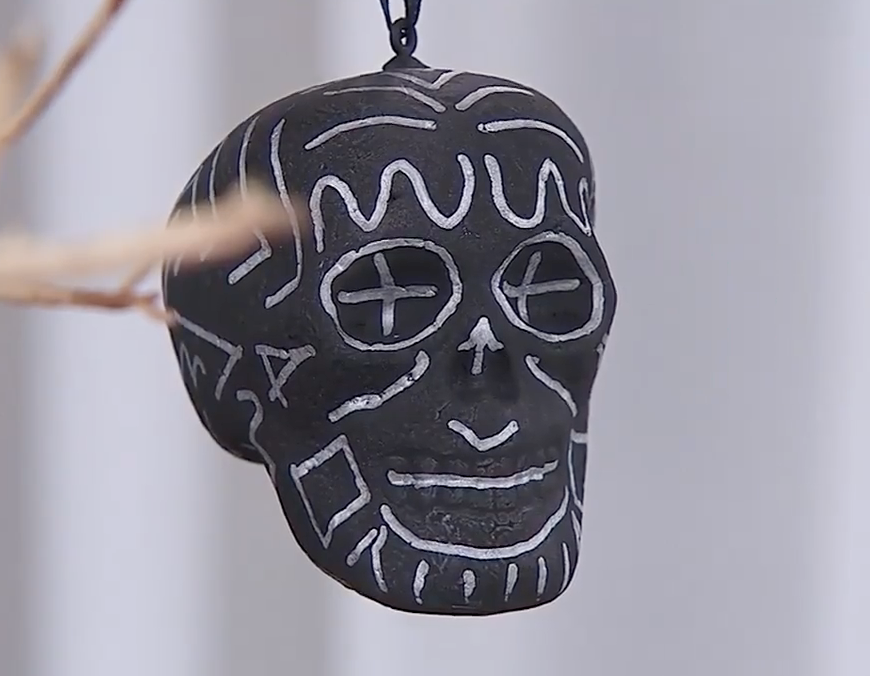
- Poke a skewer into the base of a skull.
- Outside, hold the base of the skewer and spray the skull, twisting to get full coverage.
- Allow to dry fully
- Then decorate using the metallic marker.
Personalized Mini Gravestones:
Advertisement

You will need:
- Small decorative gravestones (or will need to make your own with card and styrofoam, painted with grey paint)
- Scrapbooking adhesive lettering
- Ribbon
- Paper
Steps:
- Spell out the names of your victims on the front of the gravestone with the adhesive letters
- Add in dates, etc.
- On your computer, design and print extra info about the reason for the person’s demise.
- Trim and glue to the back, layering a loop of ribbon between to allow for the gravestone to hang on the tree.
