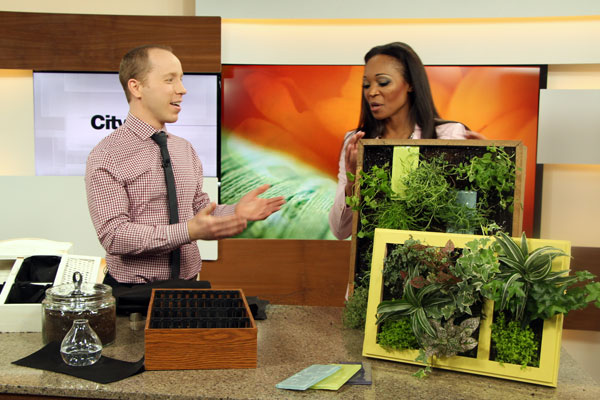

When you’re living in a small space, it’s important to make the most of every inch you have! Antonio Bellusci shows us how to make our own vertical planters to add a little green to your home.
DIY vertical planters
Materials & tools:
Wooden shallow box, approximately 3 – 4 inches deep (old cassette boxes and small cabinets are great for this project)
Landscaping fabric
Scissors
Staple tool & staples
Potting soil
Small plants/herbs
Landscaping mesh or wire mesh
Flush mount brackets
Instructions:
1. Cut landscape fabric large enough to line inside of box (cut two same size pieces to double up the lining).
2. Staple landscape fabric to inside of box, creating a basket/lined box.
3. Place potting soil inside box and plant plants/herbs.
4. Measure landscape mesh to cover entire opening of box and cut two same size pieces (double up).
5. Staple mesh over top plants and cut openings in mesh for plants to come through.
6. Allow planted boxes to stay horizontal for a few weeks while roots establish.
7. Secure to horizontal surface using flush mount brackets or rest on table top.
8. Optional: Add wood trim to frame box.
9. Optional: Paint box a complementary colour.
10. Optional: Drill small holes through bottom of box for drainage.
Approximate Cost – $20- $30
Courtesy Antonio Bellusci