
Get crafty this holiday season with these creative DIY projects from Nicholas Rosaci — perfect for adding personalized, festive cheer in your home!
DIY nutcracker custom commandoes
Materials:
- Inexpensive holiday nutcrackers
- Faux jewelry, gems, and rhinestones as desired
- A few small feathers of your choice
- Small pieces of decorative gift wrap
- Needle nose pliers
- Scissors
- Medium / Fine grit sandpapers
- Mod podge or white standard school glue
- Small sample size of desired household paint colours
Method:
Dollar stores or big box stores are excellent places to find nutcrackers at a good value! Look for inexpensive soldiers that have a good build, smooth finish, and a nicely painted face. If the colour of the coat, pants and hat is not a match to your colour scheme, you can easily repaint them with small house paint samples. Just leave the face alone!
Remove any undesired embellishments from the nutcracker with the needle nose pliers and scissors if required. Use the sandpaper to smooth out rough spots. Consider using pipe cleaners, pom-poms, ribbons and cool looking gems as they can be perfect for accessorizing your man to the max. Beads, buttons, and feathers make for a stage-worthy costume.
Exotic snake gift wrap was used to create a cool pair of snake skin pants! I affixed this into place using standard white glue or mod podge. Try using wallpaper scraps, graphic stationery or faux-fur trim for around the arms, cuffs and legs. Give new meaning to standing fierce!
If faux jewels, gems, and treasures aren’t your look, strip the soldiers of their bling, beards, and hair, and spray paint them a gloss or matte crisp snow white, bronze, gold or silver for a great wintery effect! The new “it trend” in stores is the “nude nutcracker” – stripped down and literally in commando, the look is clean & modern!
DIY foam core Christmas trees
Materials:
- A large piece of foam core (available at craft and business supply stores)
- A simple outline of a Christmas tree, hand drawn or copied onto a large paper to the desired size of the tree
- Decorative gift wrap
- A sharp small craft or utility knife and scissors
- Cutting mat
- Rubber cement glue
Method:
On a large blank paper, draw a simple outline of a Christmas tree to the desired finished size of the tree. You can also source similar outlines through the internet (or download my Christmas tree PDF). Print, enlarge or reduce the outline to your preferred size. Cut out the outline shape with a craft knife or scissors. You will use this paper template to create foam core templates that will become the tree.
With a pencil, carefully trace the outline of your paper template onto the foam core and then cut out the foam core template shape with a craft knife. Two templates will attach together to create one 3 dimensional tree.
Each template is identical except for where a “channel” is located. On one foam core template, start from the top center and cut out a 10″ long channel ¼” wide extending towards the base of the template. For the second template, start from the base center of the template and cut out a 10″ long channel ¼” wide extending towards the top center of the tree. The channel should be ½ the height of the tree. A 10″ long channel works well for a tree that is 20″ height.
Trace the first template shape onto attractive giftwrap and then cut the giftwrap shape out with a scissors or utility knife. Glue one giftwrap cutout onto each foam core template side and trim to exactly fit.
To assemble the tree, hold the template that has the channel at the base of the tree and slide it down onto the template which has a channel at the top of the tree. The templates, when inserted into each other properly should be perpendicular and self standing. Try creating a group of 3 trees of varying heights for a great holiday effect.
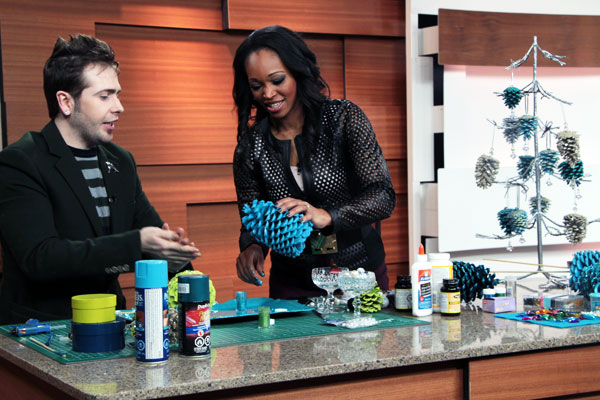
DIY sparkling pinecones and tutu walnuts
Materials:
- Store bought or tree picked natural pinecones
- Large size and evenly shaped walnuts in the shell
- Metallic automotive spray paint
- Standard white school glue
- Small inexpensive artist brush
- Glitter, various colours as desired
- Small marabou feathers
- Small ½ inch eye hooks
- Gimp, decorative string and sewing thread
Method:
Bake any tree picked pinecones in the oven at 350 degrees for approximately 10 minutes to eliminate any potential insects.
Spray paint the pinecones and walnuts a couple of coats (colour of your choice). Let each coat dry before painting on the next. Paint in a well ventilated area and use a drop cloth and facemask for protection.
Use the artist paint brush to apply a thin small coat of glue to the tips of the pine cone petal tips and to the top half of the walnuts as desired. Over a drop cloth, sprinkle the glitter evenly over glued pine cone petals and walnuts. Shake off any excess.
Affix a few small marabou feathers with a small dab of hot glue around the very tops of the walnuts to create a feather tutu-like effect.
Screw in the small eye hook into the top of the pinecone stem or to the top of the walnut and tie a piece of gimp or decorative string through the eye hook to form a small loop to hang the ornament. You can also tie the gimp or string directly to the top of the pinecone if there is a small stub.
Thread a small strand of faux gemstones, pearls, or crystals onto sewing thread and then discreetly tie one end of the thread to the bottom of the pinecone to create an attractive hanging embellishment. Once tied apply a dab of hot glue to secure.
Courtesy Nicholas Rosaci