Lifestyle Expert Sarah Gunn is sharing two DIY projects that will instantly enhance your home: a drum pendant light and a serving dish!
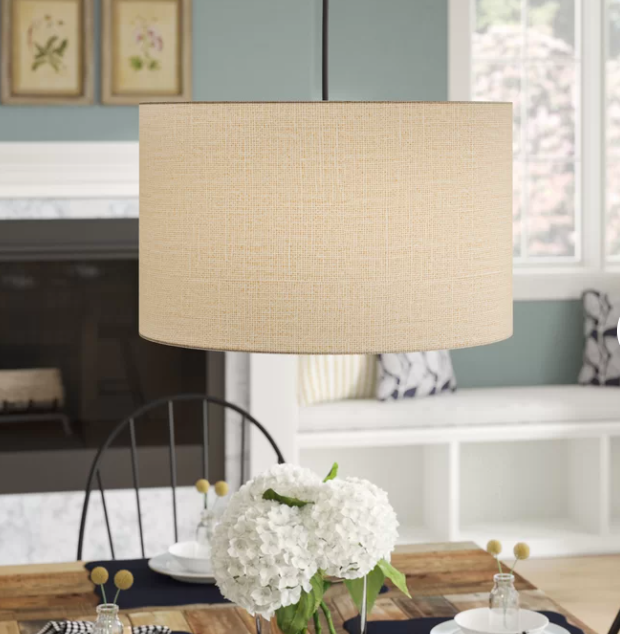
1. Pendant lights
Pendant lights are a wonderful addition to a room, but can go for upwards of $250! We’re here with a quick DIY to help you get the look for just $50.
Before you start, you’re going to need a lampshade. Make sure you look for one that is large enough for the room it will go in. An easy way to calculate the right diameter to shop for is to measure the length and width of the room. Add those two numbers together and then convert the total into inches. The total should be the width of the lampshade. So if your room is 10 feet by 12 feet, that’s 22 inches and the ceiling fixture should be around 22 inches wide.
You should also take care to choose a lampshade that has cross bars across the top and a hole in the middle. A straight cylinder is more modern and luxe, while a tapered shade will provide a more homey, comfortable feel.
Rigging Your Light
Pick up a pendant light kit. You get ones that wire into the ceiling, which need an electrician to install, or you can plug them into an outlet in the wall. They cost around $25.
To set it up, unscrew the cap from the pendant light kit cord. Feed the cord through the hole in the top of the shade and slide the cap back on. Measure the height you want the shade to be from the ceiling and floor and trim the cord to the right length if you’re wiring into the ceiling. You want to aim for at least 7.5 feet off the floor.
Voila! Now you’ve got a gorgeous pendant light to spruce up your home.
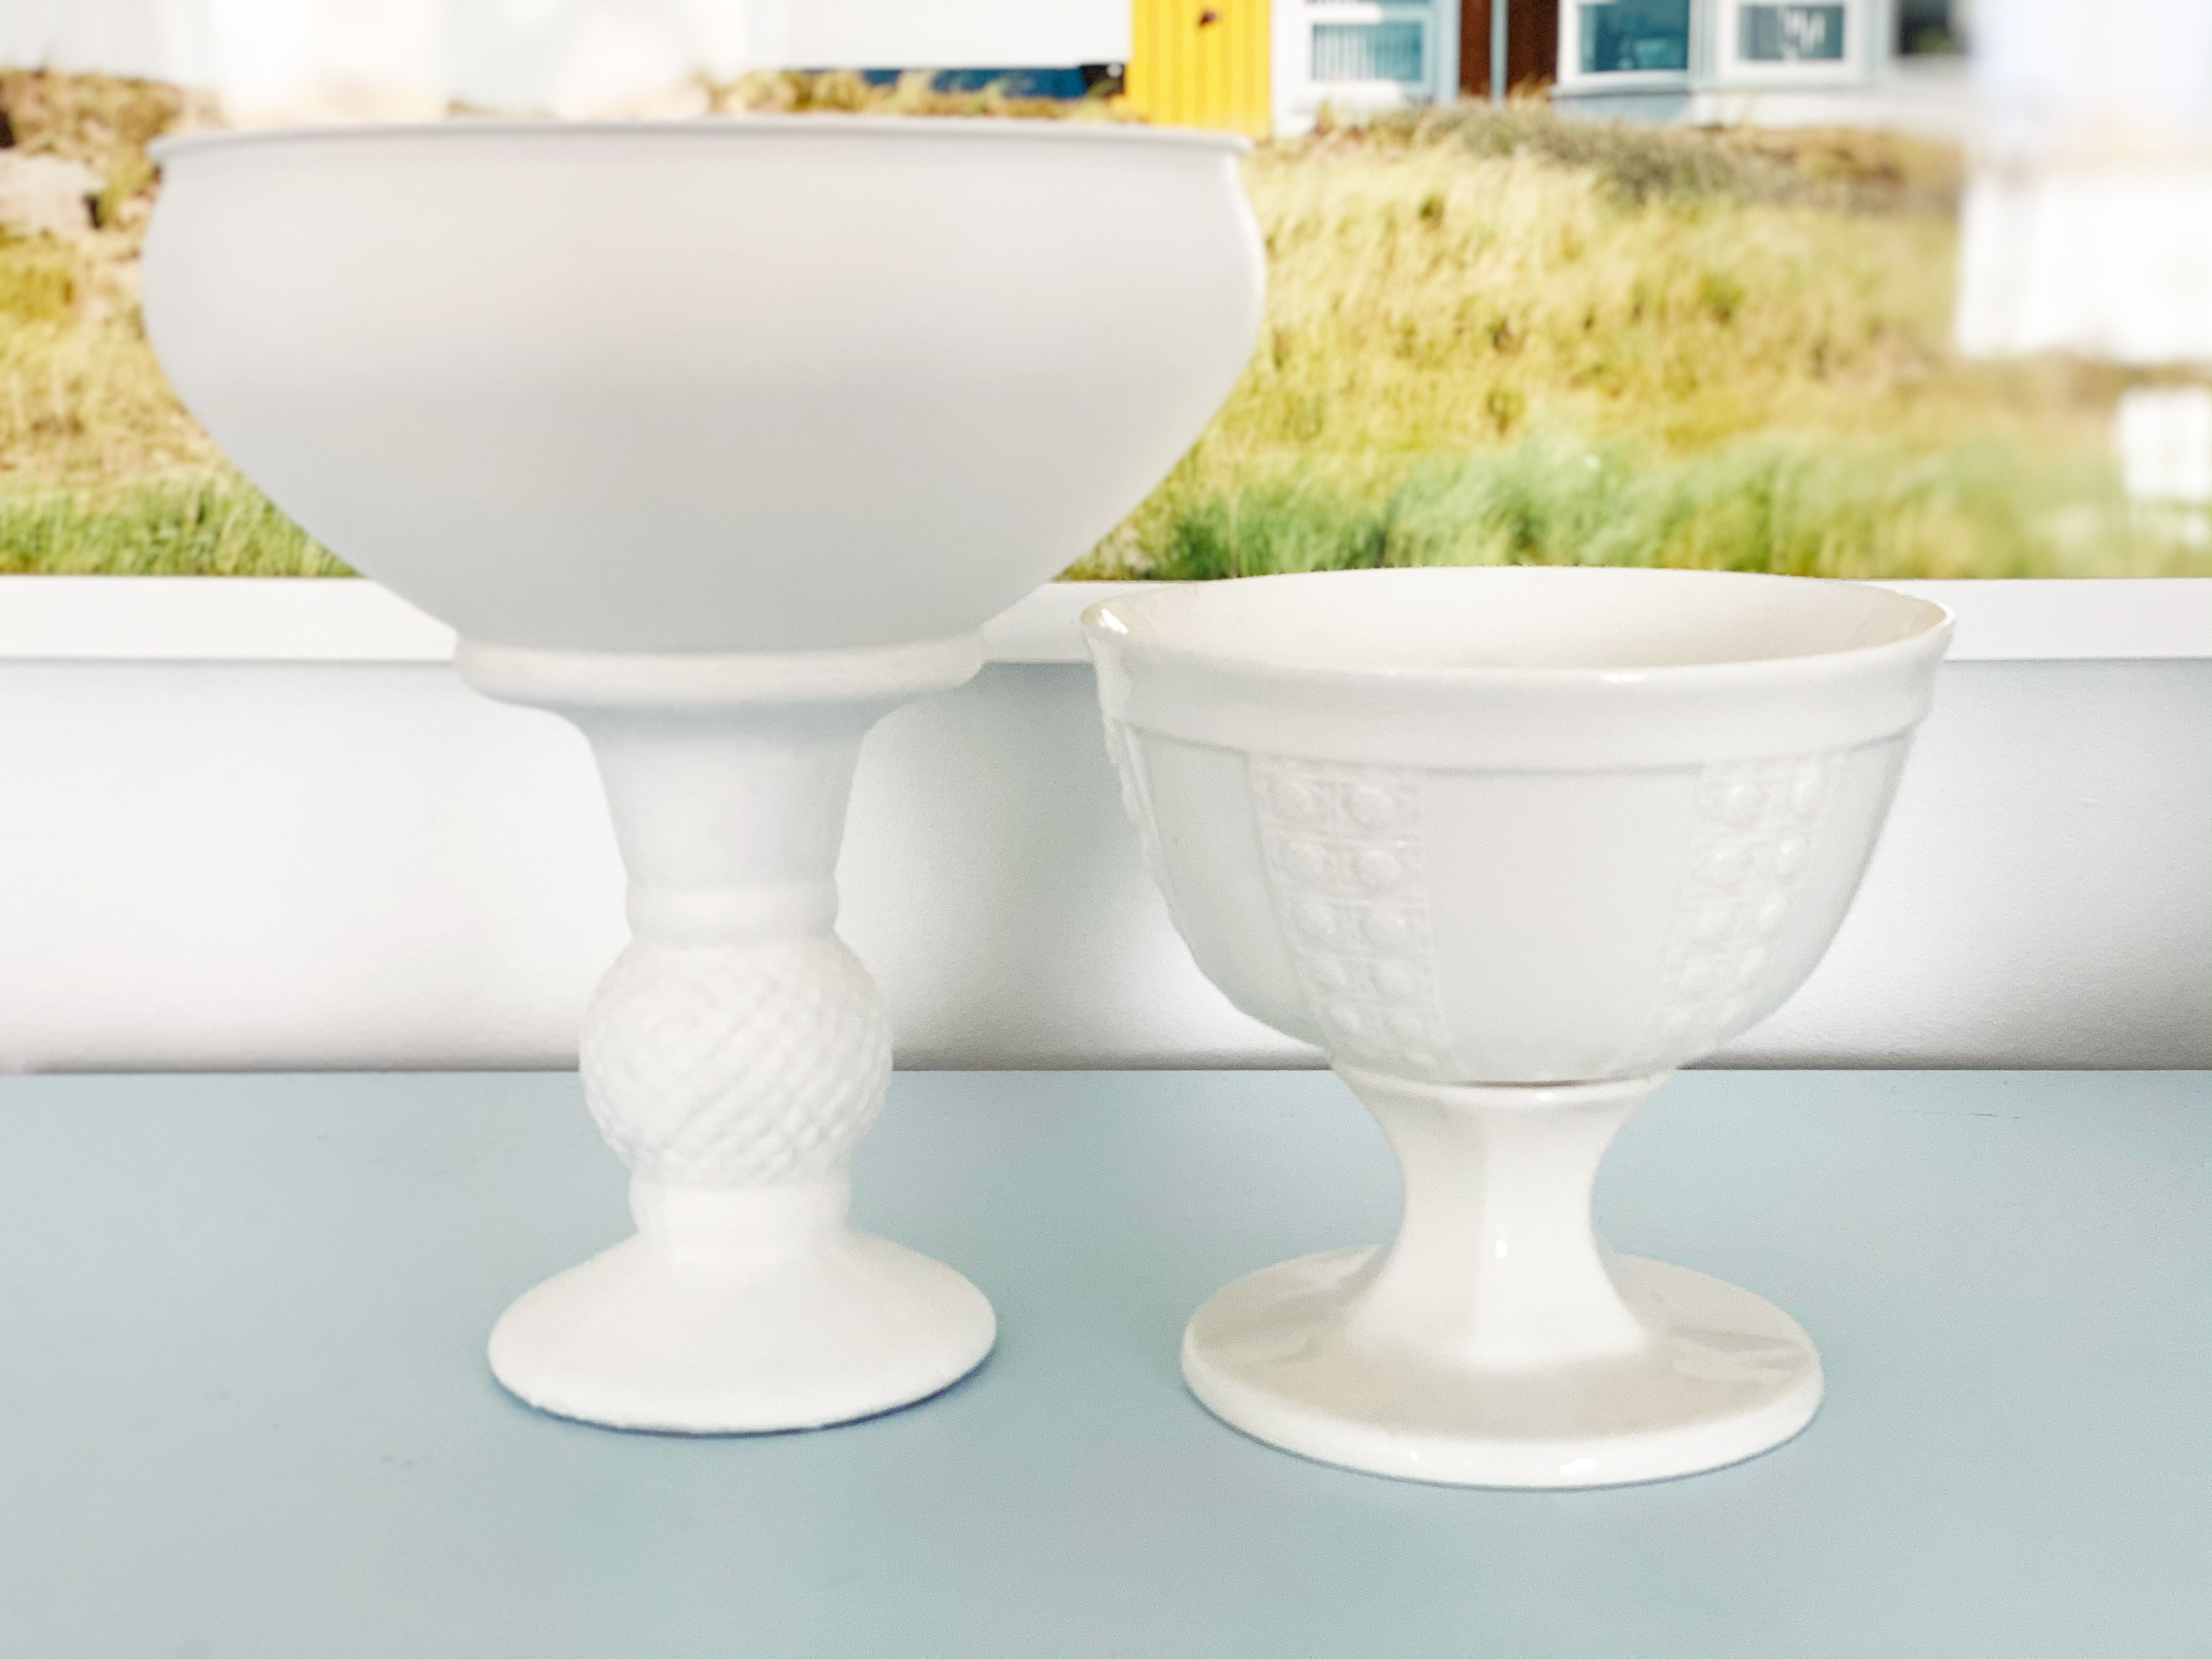
2. Serving dish
The next DIY is a serving dish that doubles as a cake stand. These dishes look beautiful on their own, with flowers in them, and of course with candy! Like pendant lights though, serving dishes can be very expensive. We have two different versions that you can make for five dollars each!
For this DIY, you’ll need:
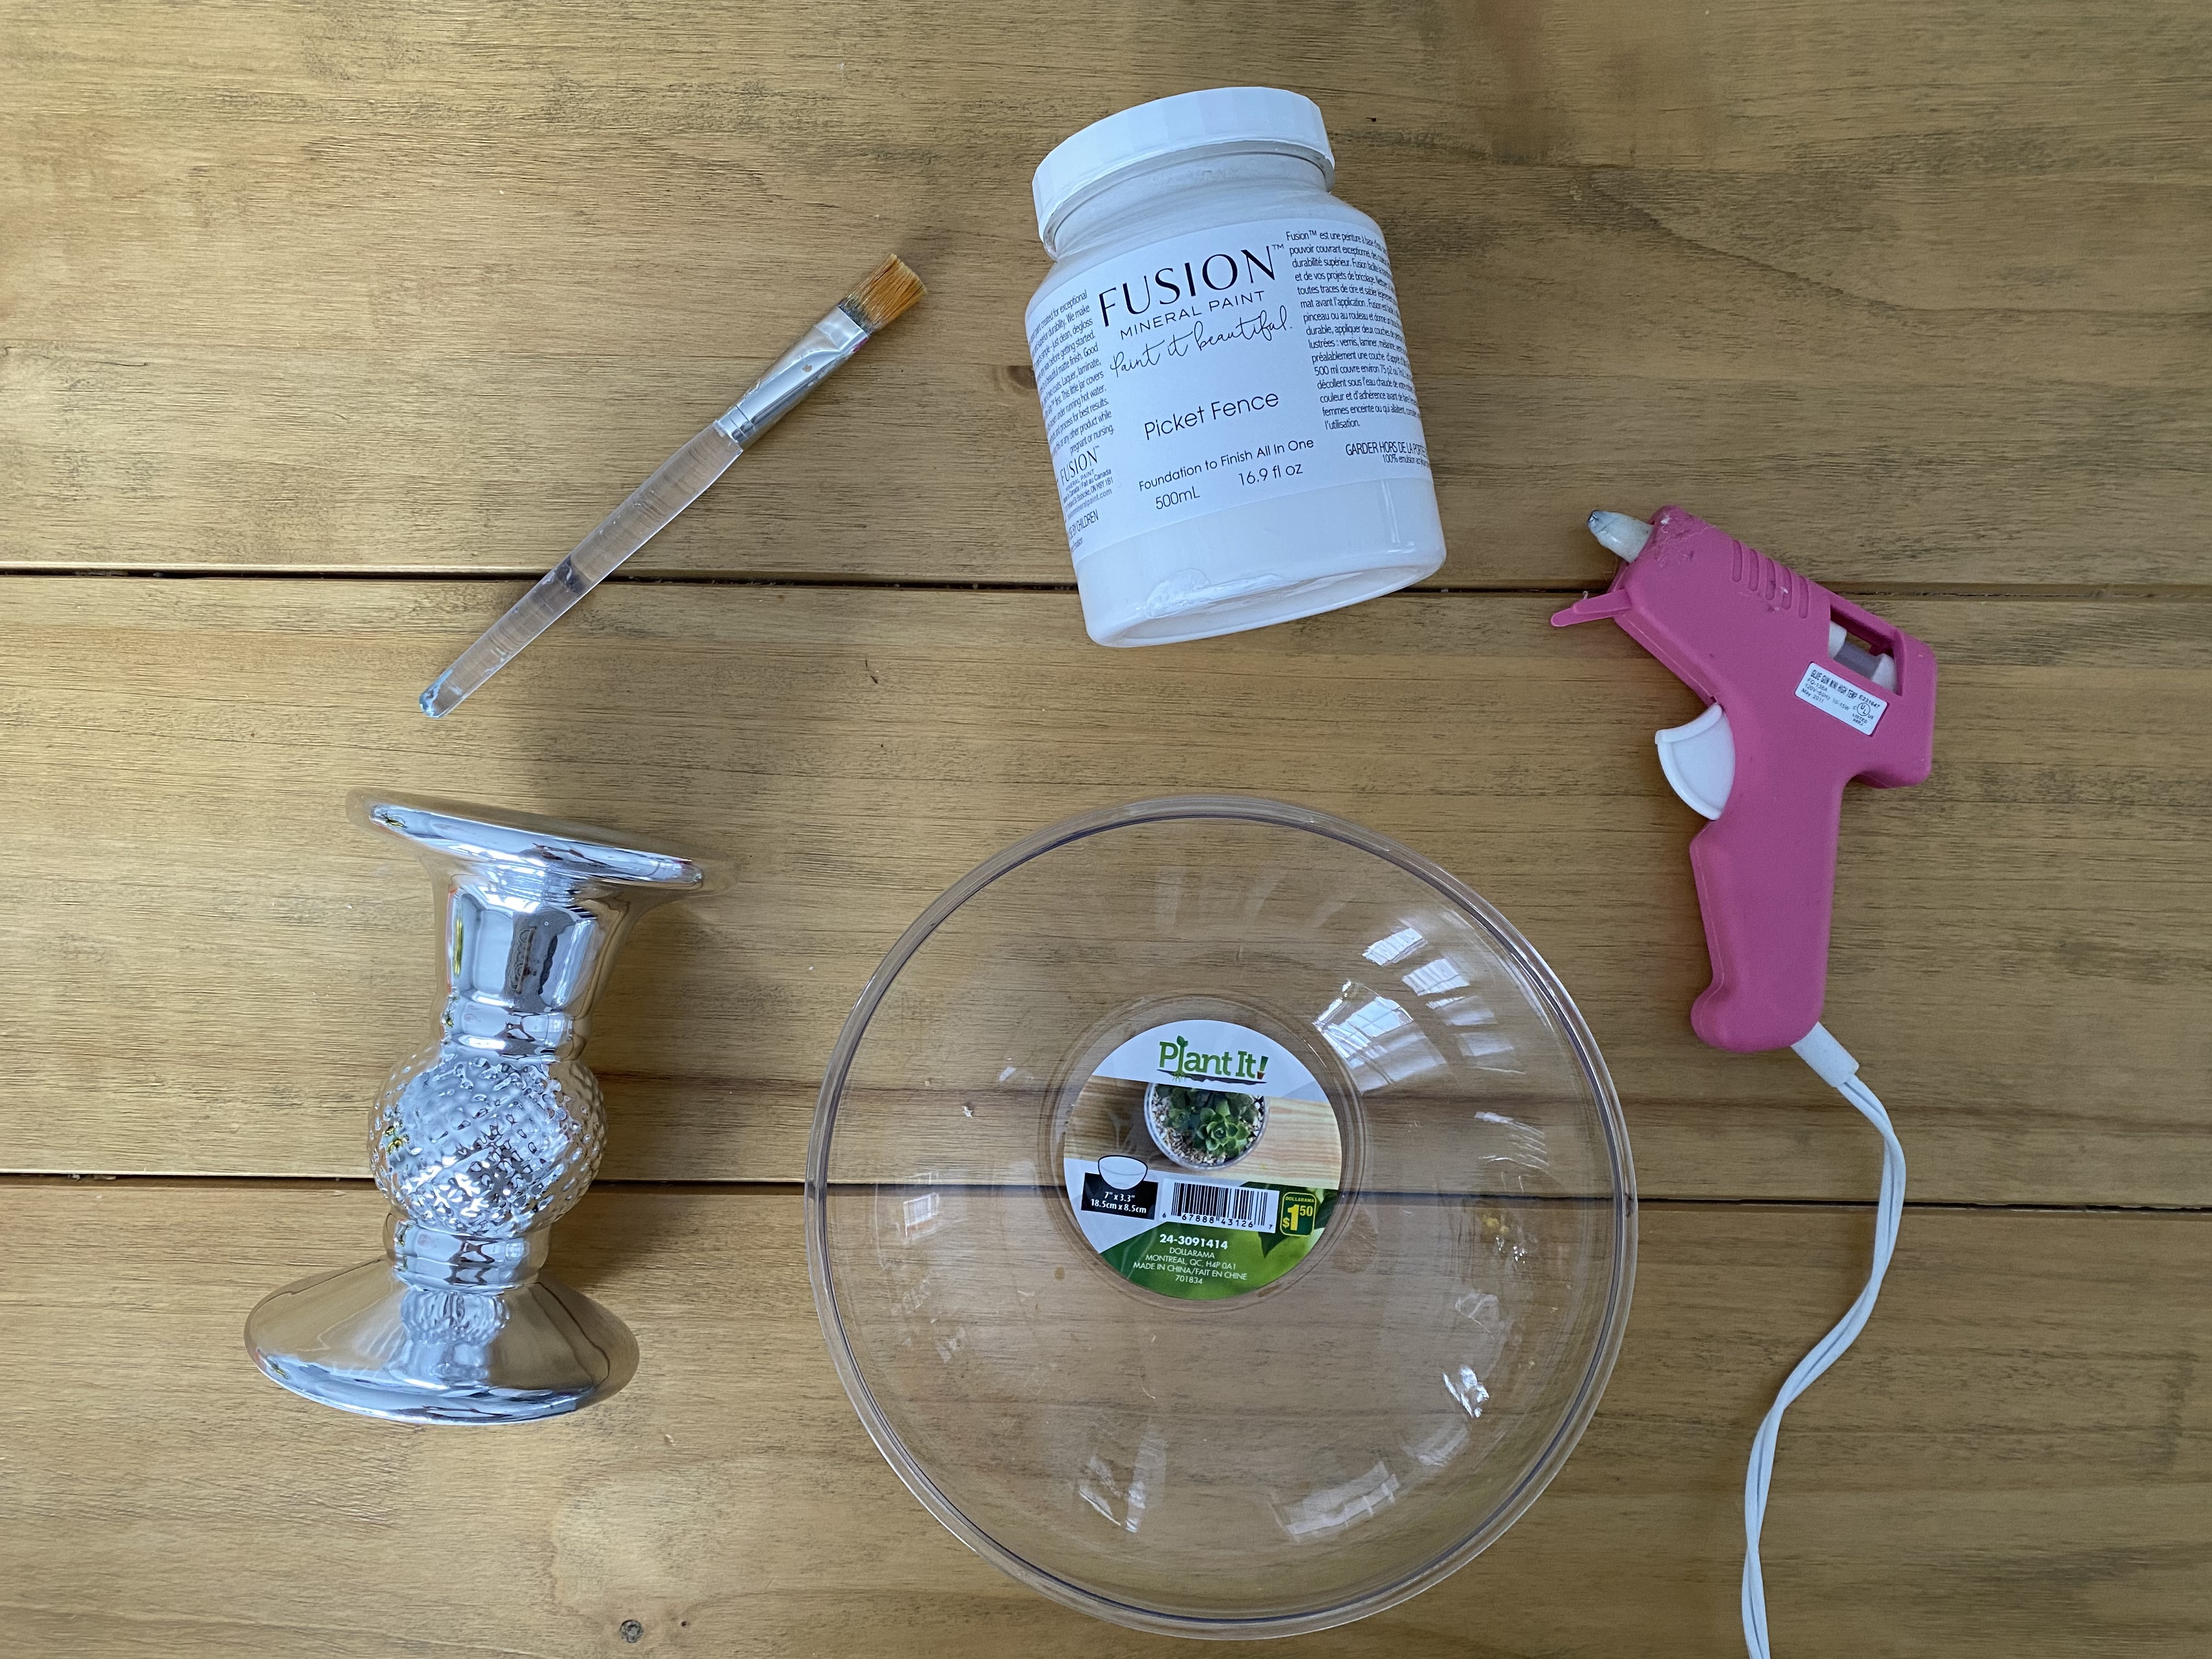
- A sturdy base, like a candlestick
- A top that fits the scale of the base
- A glue gun or other strong adhesive
- Paint that will adhere to plastic and a brush

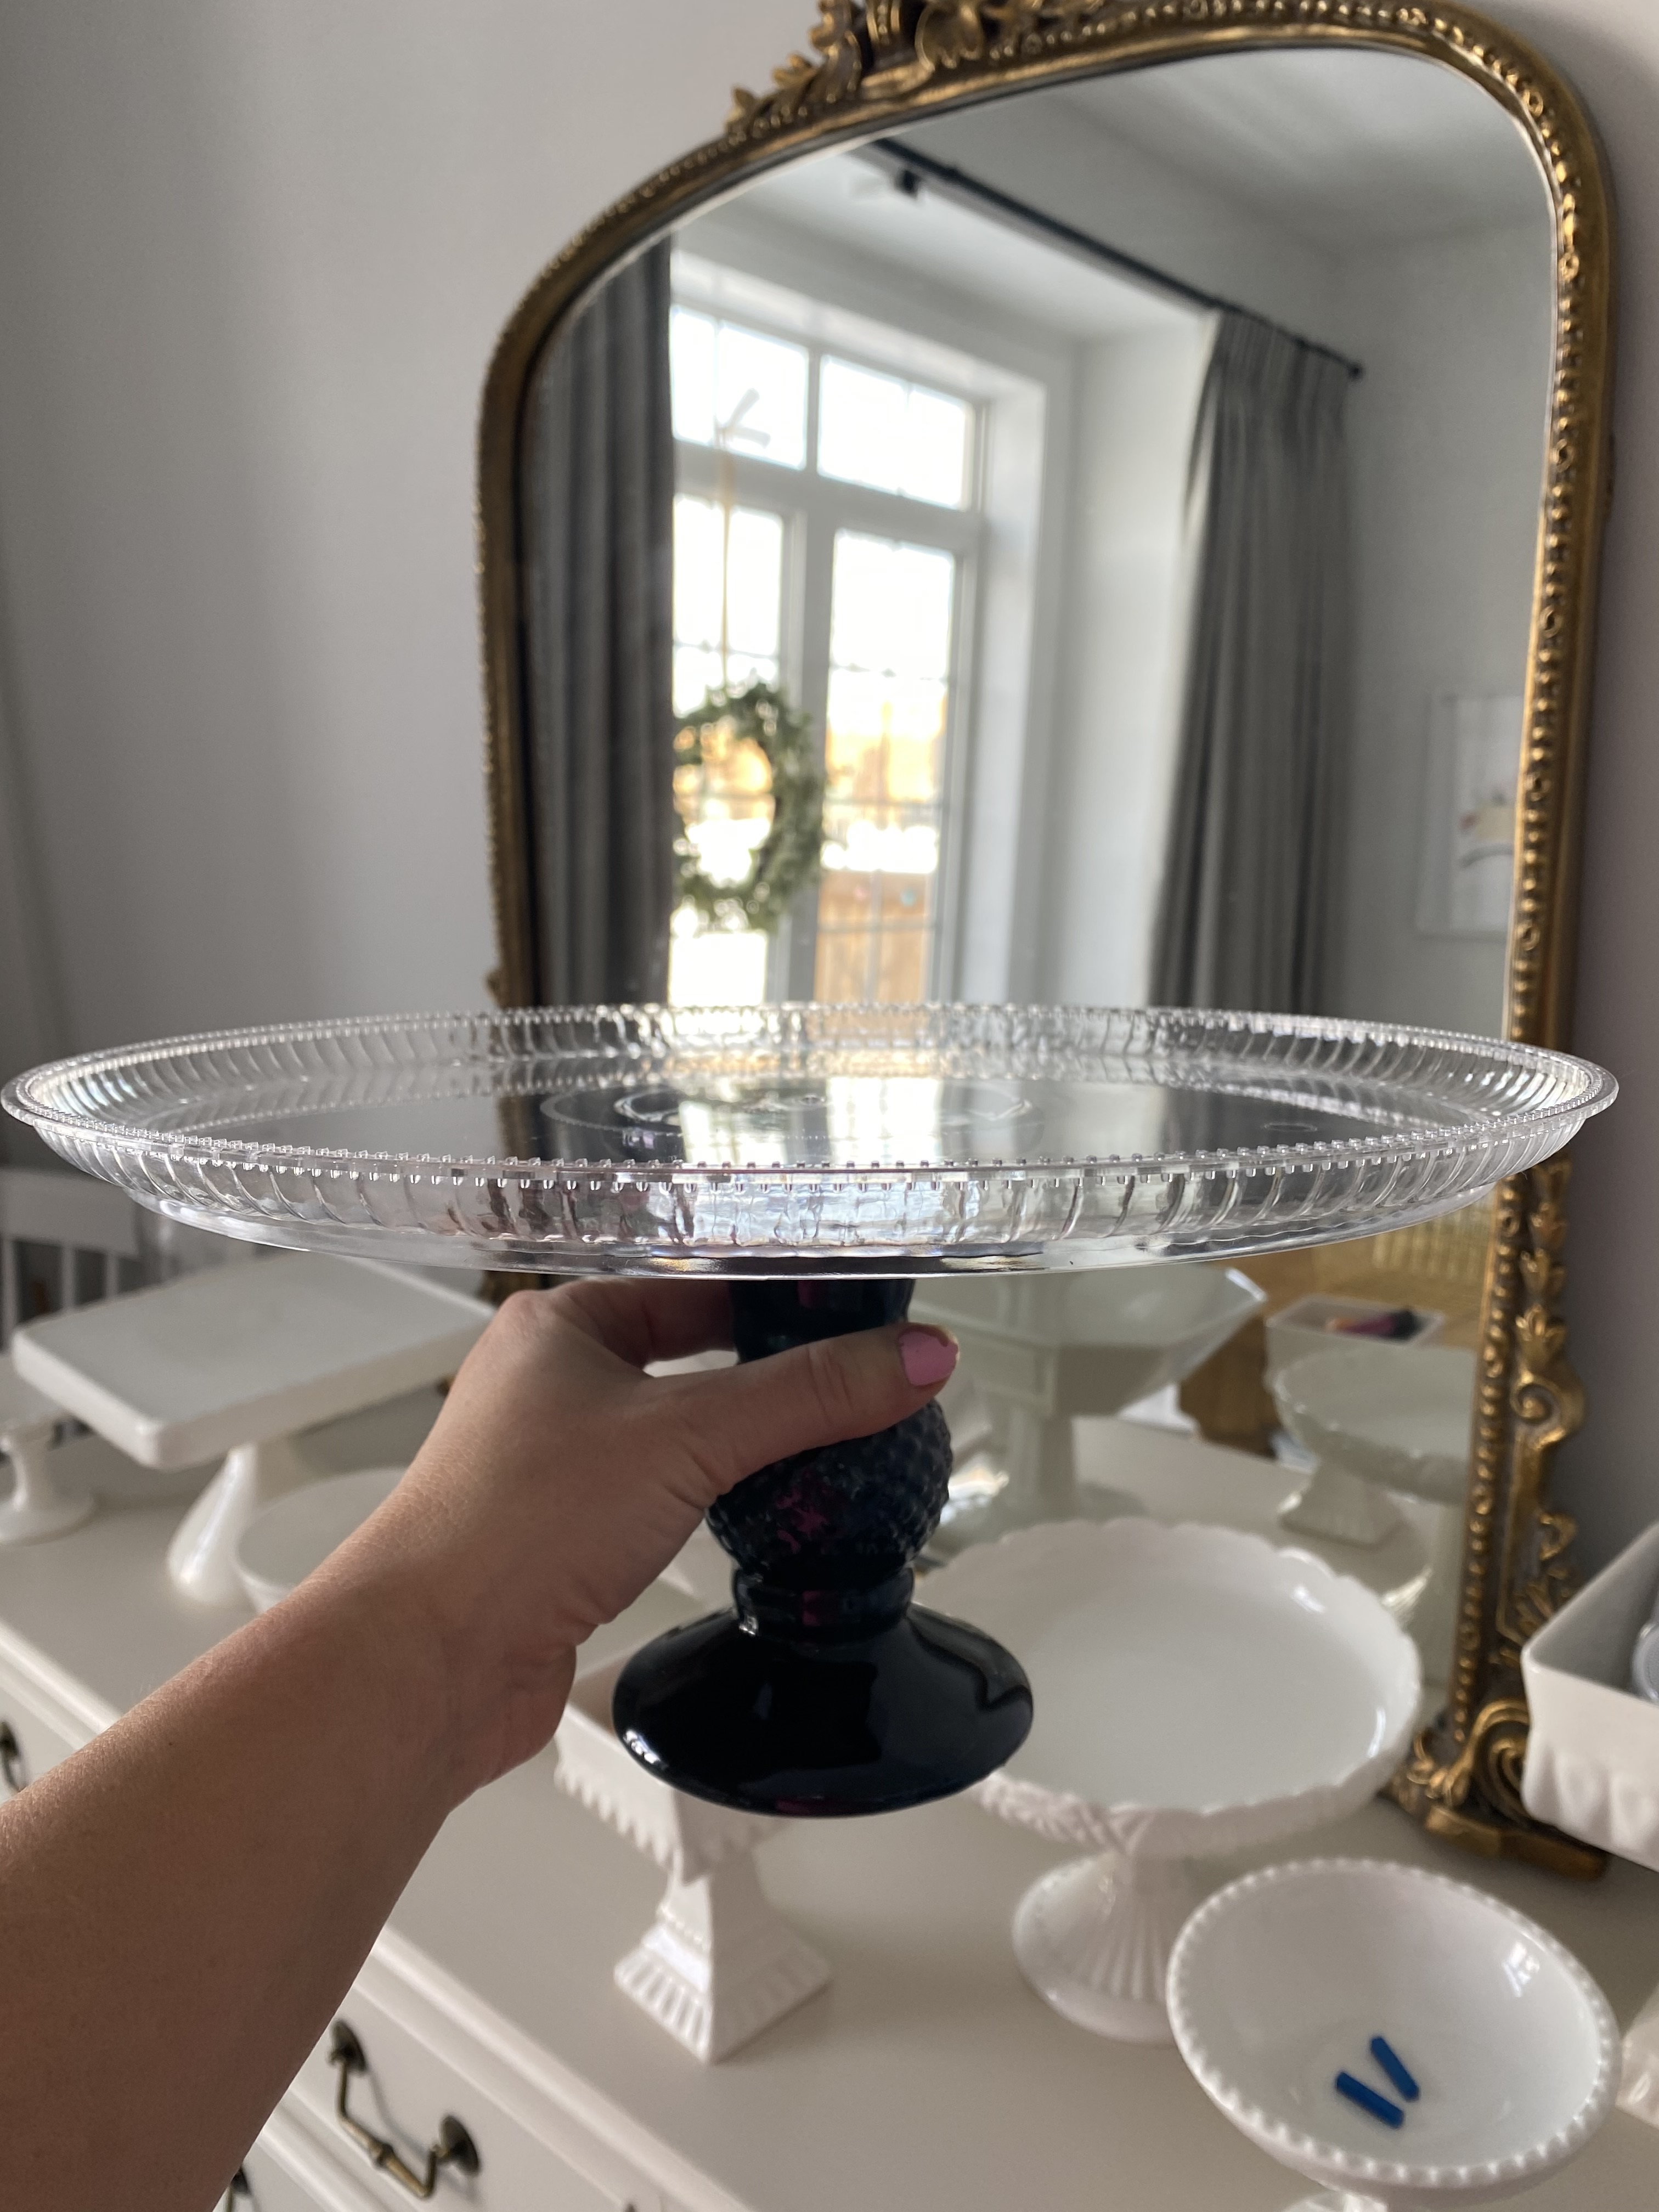
Use glue to adhere the base to the top and hold in place. Once the glue is dry, add paint. It’s better to do a few light layers rather than thick coats. Make sure to paint the top and bottom of the plate or bowl. Most paint is not food safe, so if you do use it to display candy, make sure they are wrapped, or add a doily under any treats to prevent ill effects.